There may be times where you find you have to add a new destination to your map.
How To Add a Custom Destination #
- Log in to Studio
- Open your map
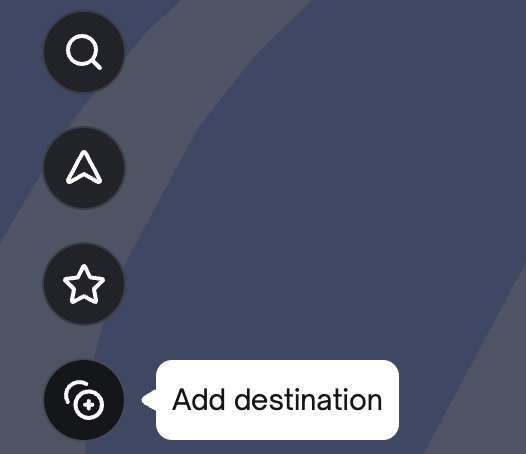
- On the left-had side there are four circular buttons. The last one is an image of a circle with a plus sign. If you hover over it, it will say Add Destination. Click on this button.
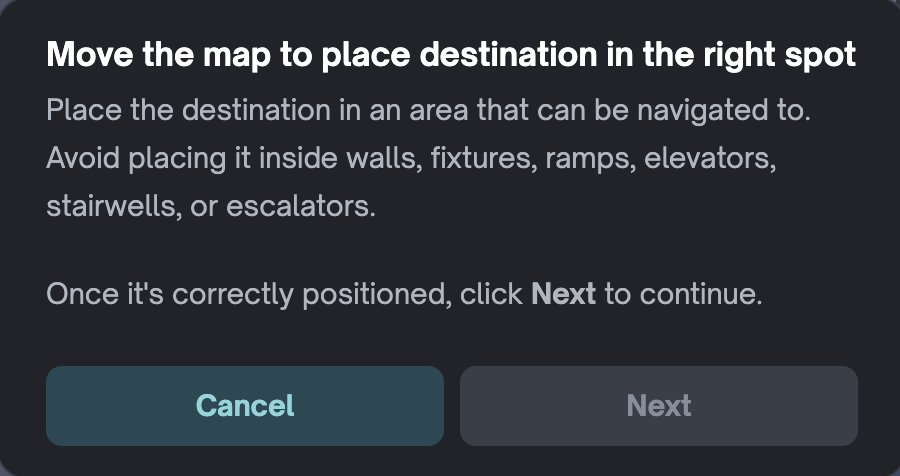
- Navigate the map to place the new destination in the right spot
- Remember: Place the destination in an area that can be navigated to. Avoid placing it inside walls, fixtures, ramps, elevators, stairwells, or escalators.
- Once it’s correctly positioned, click Next to continue.
- Instructions 4 to 6 will be on the map to guide you
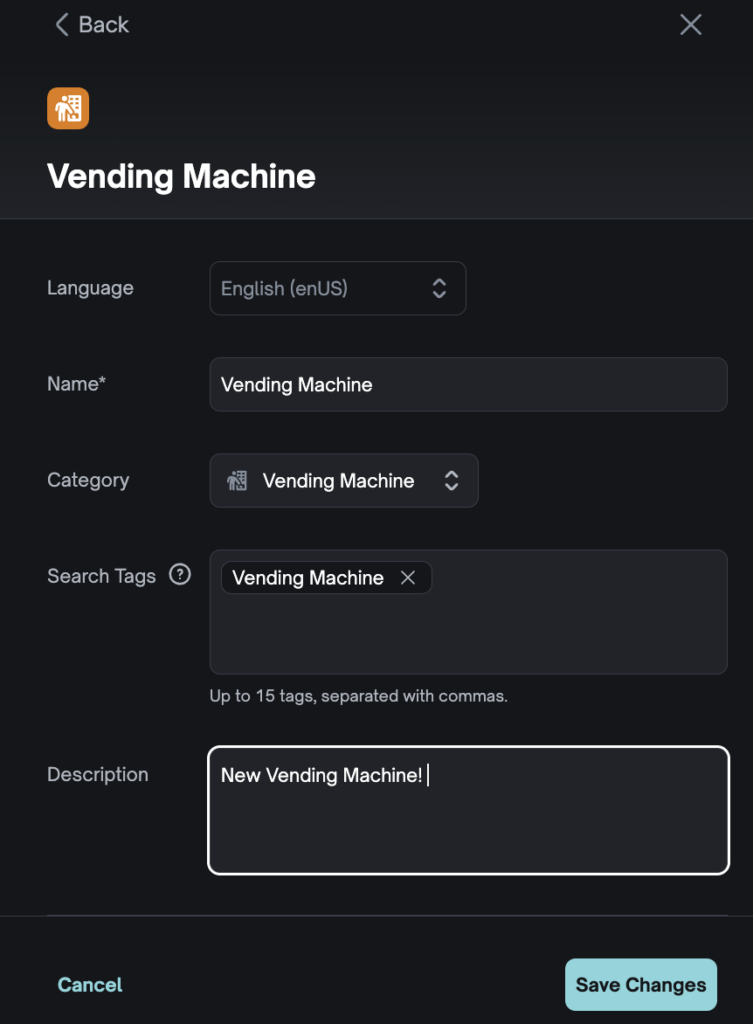
- Once you have placed the destination where you want it, you can then use the Edit Destination side panel to fill out the following information:
- Name
- Category
- Search Tags
- Description
- To finish, click Save Changes
Step #3
Step #5
Step #7